Hello Everyone!
So today I will continue to talk about the visual novel engine 【light.vn】!
Today's topic is showing text in light.vn! But that's not all!
Beside just showing text / dialogue, I will also talk about the following things:
- Change text style in a sentence: This means you can change the color, size, alignment, or line spacing of a word or phrase within a sentence, without affecting the rest of the text.
- Other special things related to text: There are other cool features Light.vn offers for text, like adding outlines, text shadows, ruby / furigana text, and even using gradient effects!
All topics covered in this post:
- Change Color of a word / pharases within a sentence or whole sentence
- Change Text Size of a word / pharases within a sentence or whole sentence
- Change Text Alignment of a word / pharases within a sentence or whole sentence
- Change Line Size of a word / pharases within a sentence or whole sentence
- Set Outlines/Text Shadow of a word / pharases within a sentence or whole sentence
- Use Ruby / Furigana
- Use Gradient Text
- Use different fonts for different languages
So let's get started!
If you don't know how to show text / dialogue in light.vn, you can check this post first:
How to Styling Text in Light.VN?
Change Color
You can use this command to do so: 「textColour」
And this will change the color of all the text showing after that/
For Example:
~textColour 255 0 100
"[ Applying your Scenario ]
(Copied from the sample project of light.vn -> this will turn the text after that to red)

You can also put it in the middle of the sentence
For Example:
First, we'll go through the basics of
<textColour 0 0 255>「Text Display」</>!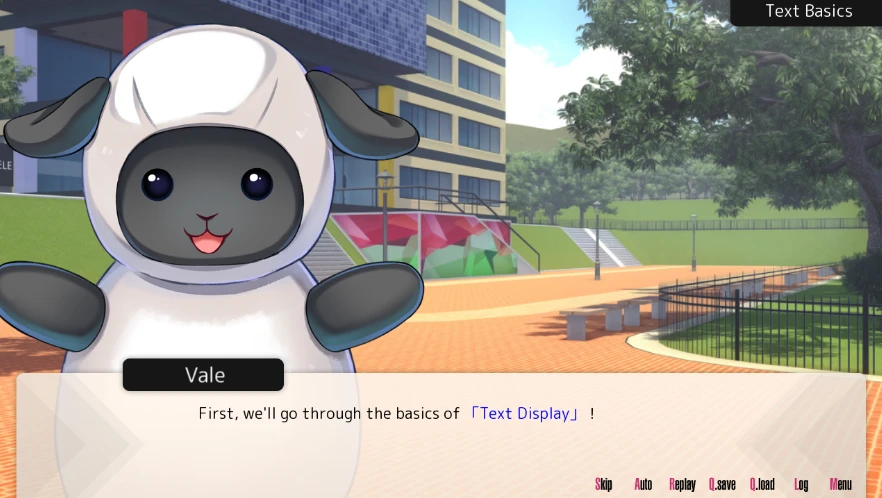
- In this case only "「Text Display」" will change color -> to Blue
As the example shows, you just need to put the text you want to change color between:
- <textColour [color code]> and
- </>
(You can replace [color code] with the actual color code you desire.)
Then the text in the middle will change to the color you wish!
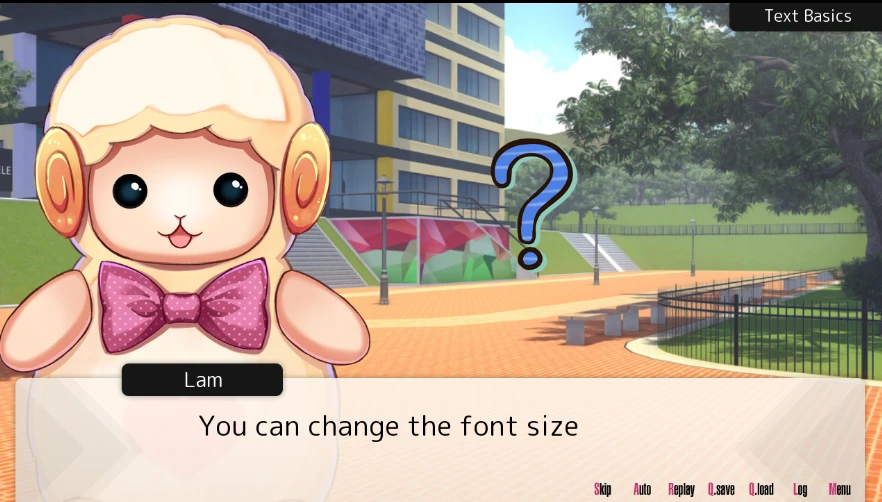
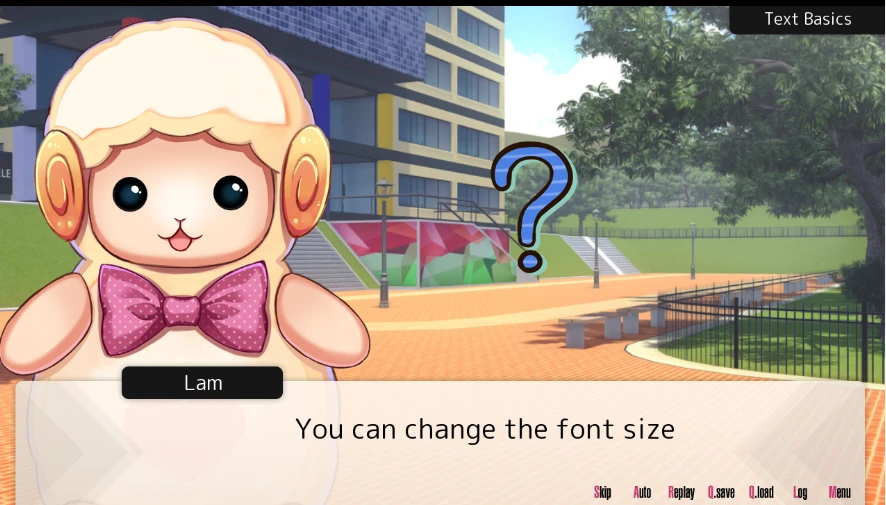
Change Text Size
Here we use this Command: 「textSize」
And here we also have 2 ways to use it:
1. Will apply to all the text following
~textSize XX2. Will only apple to text between <textSize XX> and <>
<textSize XX> Some Text </> Example:

I got this code in this example:
"Same applies <textSize 50> to all </> other text commands! (textFont, textSpeed, etc.)
.*For a list of all commands refer to the Command tab in the editor)
Change Text Alignment
I believe that I don't have to showcase how to use it between single text or the whole sentence now~
So from here, I will just show the command and what it changes!
The command we use to change text alignment is 「textAlignment」and we have those to choose:
- left
- right
- middle

If nothing is set specifically, the default alignment is left.
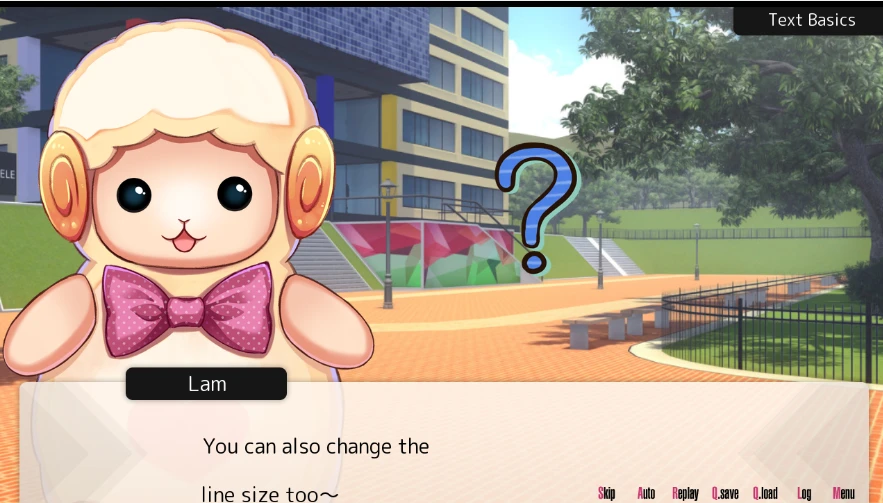
Change Line Size
So you can also change the height between lines in Light.VN
and to do it, you need the command 「textLineSize」
Example:
~textLineSize XXIf you set a big number, like this
~textLineSize 70Then the height between lines will be very ~ big!
And if you set a very small number like this:
~textLineSize 10Then it will look like this!
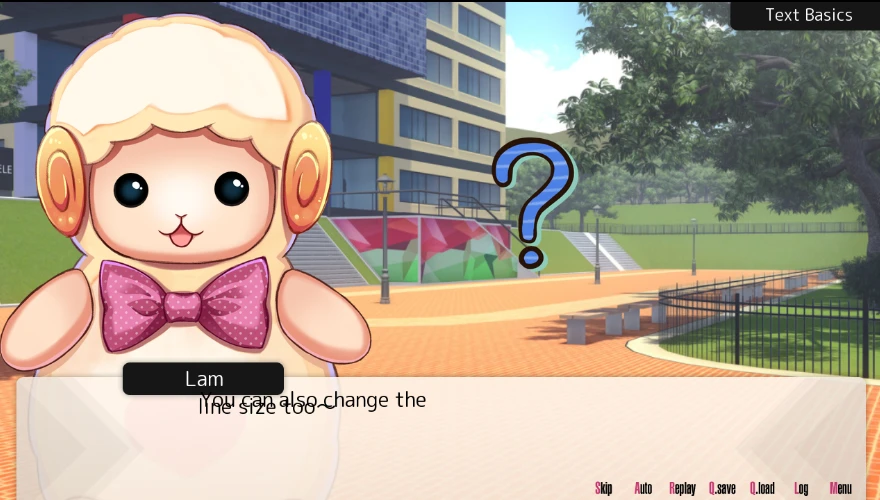
(This should definitely be avoided!)
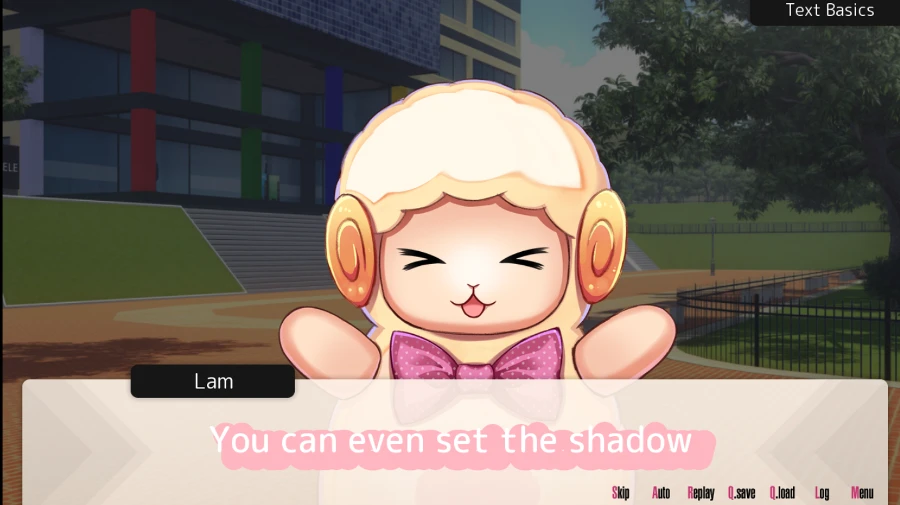
Set Outlines / Text Shadow
Text Shadow vs. Outline
- While Ren'Py uses the term "outline"
- Light.vn refers to this effect as "text shadow."
The command for achieving this stylistic effect in Light.vn is 「textShadow」.
Here's how to adjust text shadow using the textShadow command:
textShadow [on/off] [thickness] [color]- Turning Text Shadow On/Off:
- Use "
0" aftertextShadowto disable the effect. - Use
"1"aftertextShadowto enable the effect.
- Use "
- Adjusting Shadow Thickness:
- The second value after
textShadowdefines the shadow's thickness in pixels (px) - Larger numbers create thicker shadows
- While smaller numbers create thinner shadows
- The second value after
- Setting Shadow Color:
- The third value after
textShadowdefines the shadow's color using either hex codes (e.g., #FF0000 for red) or RGB、RGBA (e.g. rgb(255,182,193) for pink).
- The third value after
Example:
textShadow 1 10 255 182 193This code creates a pink text shadow with a thickness of 10 px
xyoffset in light.vn
Additionally, just like ren'py you can also set "xoffset" and "yoffset" in light.vn
These are not required for the text shadow effect to function properly/p>
Example 2:
1 15 #FFB6C1 20 10This code creates a pinkt text shadow with a thickness of 15px and 20 xoffset / 10 yoffset
Ruby / Furigana Text in Light.vn
As a visual novel engine from Japan, it also supports this function. And it's very easy to do it in light.vn!
The Command for it is: 「<ruby>」
For Example:
<ruby Ruby Text>Ruby</>(Copied from sample project of light.vn)
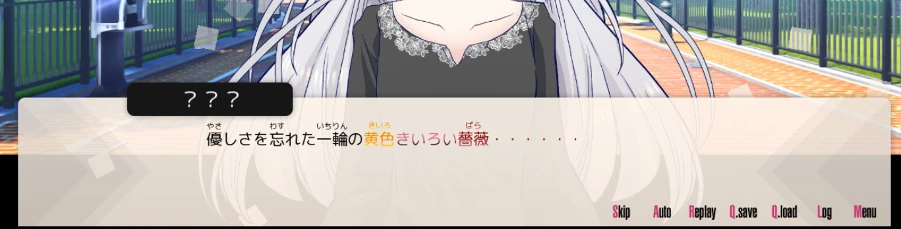
Just one comparison / example between Ruby function in renpy and in light.vn:
Renpy:
"{rb}優{/rb}{rt}やさ{/rt}しさを{rb}忘{/rb}{rt}わす{/rt}れた{rb}一輪{/rb}{rt}いちりん{/rt}の{rb}黄色{/rb}{rt}きいろ{/rt}きいろい{rb}薔薇{/rb}{rt}ばら{/rt}"
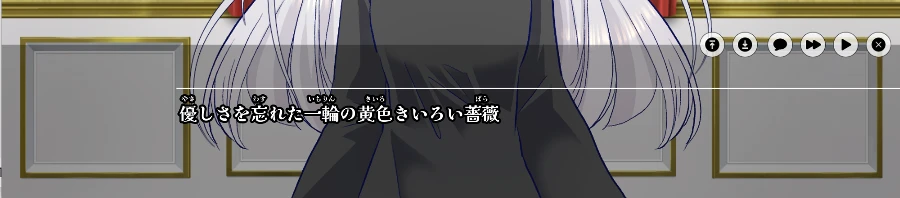
Light.vn
<ruby やさ>優</>しさを
<ruby わす>忘</>れた
<ruby いちりん>一輪</>の
<ruby きいろ>黄色</>きいろい
<ruby ばら>薔薇</>
(you don't have to write text in a separate line - It is just my preference)

(Lyrics copied from a song I was listening to -> 「Ib」-again- )
Use Gradient Text in Light.vn
It is also possible to add gradient text in light.vn!
Similar to other text formatting options, Light.vn allows you to apply gradients to highlight specific words or whole phrases.
The command for creating gradient text in Light.vn is textColour. Here's how it works:
textColour [color#01] [Reflection Rate in %] [color#02]- Color Definitions: You'll need to define two colors for the gradient (color#01 & color#02). These are placed after
textColour
- Reflection Rate: Following the 1. color definition, you'll set the reflection rate using XX
%followed by a percentage value. This value determines the area of the text element filled with the first color.
Here's an example breakdown:
textColour #FF0000 70% #0000FFIn this example:
- The first color is red (#FF0000).
- The second color is blue (#0000FF).
- The reflection rate is 70%. This means 70% of the text element's area will be filled with red, transitioning to blue at the top 30%
You can use the textColour command with gradients in two ways:
- Single Text: Apply the gradient to a specific word or phrase within a sentence.
- Example:
<ruby やさ>優</>しさを
<ruby わす>忘</>れた
<ruby いちりん>一輪</>の
~textColour #FF8C00 50% #FFD700
-"<ruby きいろ>黄色</>
~textColour #DB7093 50% #000000
-"きいろい
~textColour #800000 50% #DB7093
-"<ruby ばら>薔薇</>
(you don't have to write text in a separate line - it is just my preference)
- Whole Sentence: Apply the gradient to an entire sentence
- Example:
~textColour #1e130c 50% #800000
textSize 40

~【???】
"So who are you?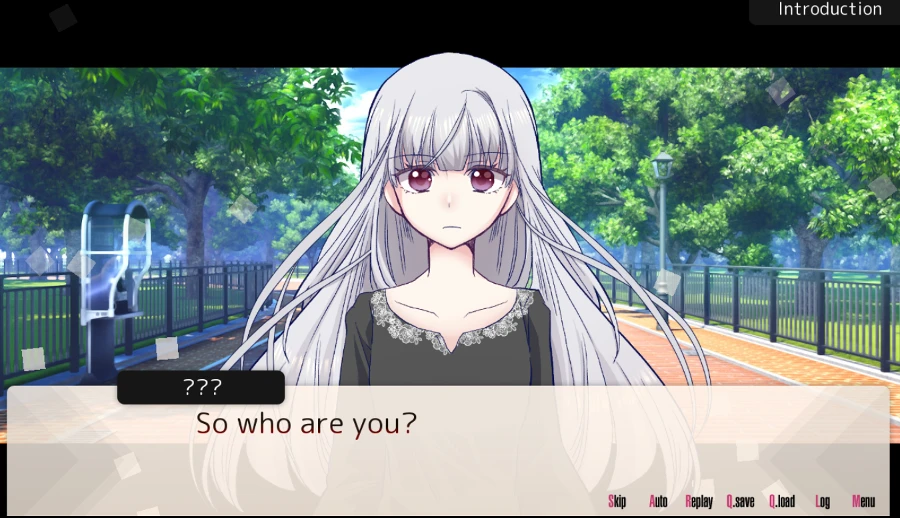
Use different fonts for different languages
You can select a single font that supports all the major languages you plan to use in your game.
Alternatively, you can define specific fonts for each language used in your game. This offers more control over the look and feel of different language text!
And it is also very easy to switch between fonts in light.vn
For now, I'm not sure which font format light.vn all supports but i've tested the following font:
- .otf
- .ttf
The command for changing fonts is called: 「textFont」
Here's how to use it:
textFont [font filename]- You can replace
[font filename]with the actual filename of your font file - Also, you should ensure your font files are placed in the designated "Fonts" folder within your project directory
Example:
~textFont MyFont.ttf // Assuming your font file is named "MyFont.ttf"Final: Ren'py Command ➡️ Light.vn Command
| Action | Ren'py | Light.VN |
|---|---|---|
| Change Color | color "color code" | textColour [color code] |
| Change Text Size | size XX | textSize XX |
| Change Text Alignment | xalign 0.0 / 0.5 / 1.0 | textAlignment left / middle / right |
| Change Line Height | line_spacing XX | textLineSize XX |
| Outlines / Text Shadow | outlines [ (absolute(X), "color code", absolute(X), absolute(X)) ] | textShadow [on/off] [thickness] [color] |
| Ruby / Furigana Text | {rb}Normal Text{/rb}{rt}Small Text{/rt} | <ruby Ruby Text> Normal Text </> |
| Gradient Text | A little bit complex, you can check it here: - How to add gradients to text | textColour [color#01] [Reflection Rate in %] [color#02] |
| Change fonts | font "font file path" | textFont [font filename] |
Note: Styling in Ren'Py have different ways to do it. The code in this table is just one example. If you'd like to learn more about defining styles in Ren'Py, please visit our website! We'll also cover it in a future post
And this is today's post ~ I'll continue discussing more text functions in Light.vn in the next post!
Get Ready for the Next Post! There, we'll Explore:
- Light.vn's Multilingual Function: Discover how to switch languages and create a seamless experience for your global audience.
- More Textbox Functions: Dive deeper into textboxes! We'll explore cool functionalities beyond the basics.
- Other dialogue modes Beyond the Basic Dialogue: Learn about alternative dialogue modes to add variety to your storytelling.
- Text Transformation / animation: Unleash the power of text transformations and animations to bring your words to life!
- New Commands: Explore additional commands like "wait" to fine-tune the pacing of your visual novel.
See you next time!

[…] Renpy To Light.vn Tutorial / Compare Command【Basic #004】 - Text Tag […]
[…] Renpy To Light.vn Tutorial / Compare Command【Basic #004】 - Text Tag […]
[…] Renpy To Light.vn Tutorial / Compare Command【Basic #004】 - Text Tag […]
[…] Renpy To Light vn Tutorial / Compare Command【Basic #004】 - Text Tag […]