Hello everyone! Today, I'm excited to start a new series about the visual novel engine, 【Ren'py】!
Renpy is a powerful tool that makes creating visual novels or story-based games a breeze. But you might be wondering, "Why another Ren'py tutorial? There are already so many out there!"
That's a great question. While there are plenty of renpy tutorials available, I've found that many can be confusing for beginners, especially those with no coding experience (like me before!).
So In this series, I'll be focusing on making things clear and accessible for everyone.
Here's what you can expect:
- Explanations for Beginner / non-developers: I'll try my best to break things down in a way that's easy to understand.
- A comprehensive guide: I'll strive to cover everything you need to know, from the absolute basics to more advanced features (although keep in mind, I'm just starting so till that point, it might take a long time!).
- The only site you need from 0 to 100: Tired of jumping from tutorial to tutorial or website to website? This series aims to be your only place for learning Ren'py, taking you from beginner to comfortable user.
So, now that you know a little about me and why I'm starting this renpy tutorial series.
In this post, we'll be getting started with Ren'py! This post is geared towards beginners who have never used Ren'py before. If you already have some experience, feel free to skip this post (and probably the next one).
Today, we'll cover:
- Downloading and Installing the Ren'py Launcher on your computer / laptop to begin working with Ren'py
- Creating and Setting Up Your First Project
Now, let's dive in and create our first project! (Btw. English is not my native)
1. Download and Install Ren'Py
First things first, we need renpy itself. If you don't have Ren'py yet, on your computer, you can download it from their official website:
and download the latest version for your operating system (Windows, Mac, or Linux).
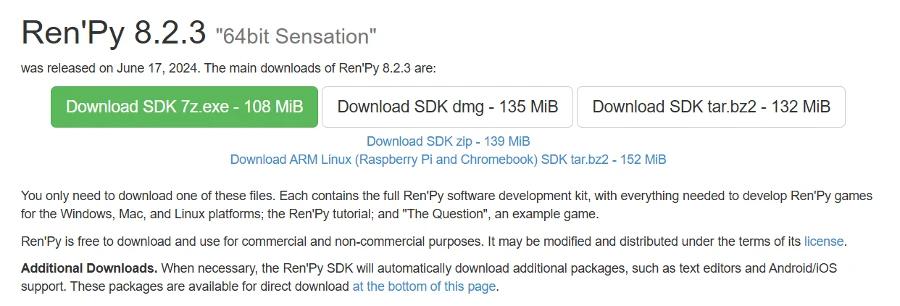
There are actually different ways to download Ren'py, but I normally use the first option (the green one), "Download SDK 7z.exe." In my opinion, it's also the easiest way to install Ren'py launcher on your computer.
I remember, In the past, you could choose to download older versions, but now you'll only find the latest version available. But I think this shouldn't be a problem for most users / you.
By the way, updating Ren'py is also super easy to do, and we'll cover that in the next post! We'll be diving deeper into the Ren'py launcher and show you how to update the software itself.
The installation process is straightforward - just follow the on-screen instructions!
2. Create your First Project
Once Ren'Py is up and running, it's time to create your first game project! Open the Ren'Py launcher and click the "+ Create New Project" button
↓ This will bring up the following screen:
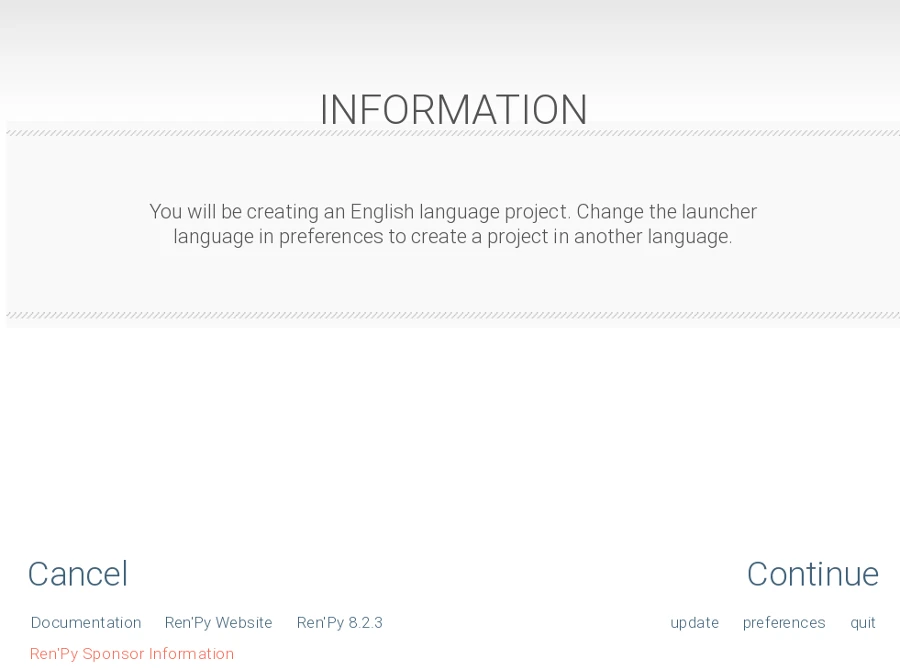
Click "Continue" and you will see this screen: ↓
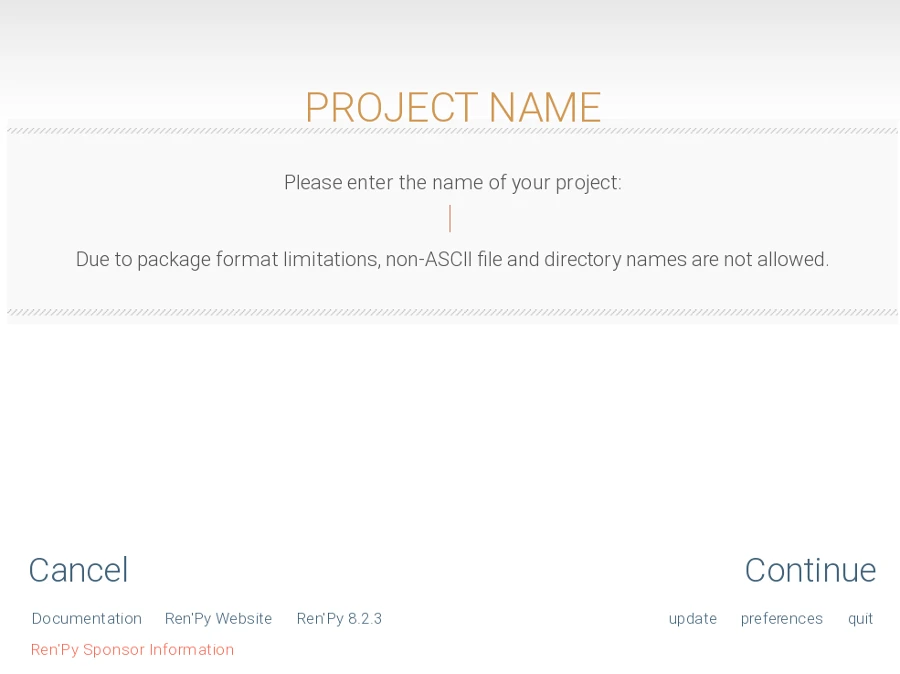
Here you need to enter the project name.
You can change the name later, so don't worry about choosing the perfect one right now!
↓ Then you will see this screen:
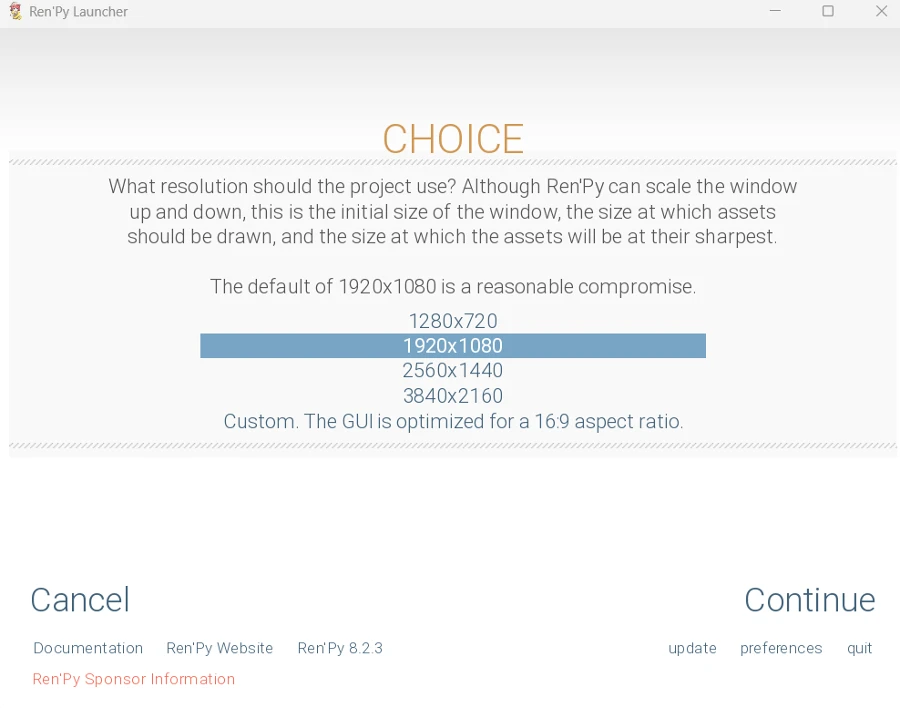
Here you can choose the screen size.
I usually use 1280 x 720 or 1920 x 1080, but you can choose whatever you like.
You can also change the size later, so don't worry about your current choice!
Renpy also offers you the option to automatically enter the size --> Just select "Custom".
↓ Then you will see this screen:
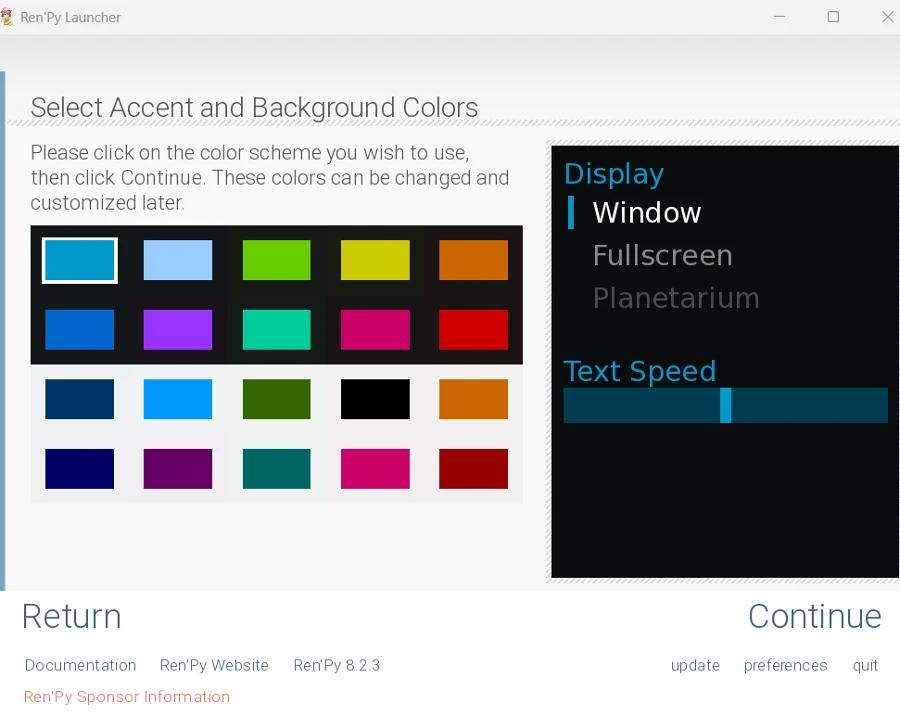
- You can select the project theme color from the left
- And you can preview the theme on the screen on the right
Then give it a moment to run
Once it's done, you'll see the newly created project appear under "Project"!
If it doesn't appear, click "Refresh".
This will set up the basic folder structure for your game!
FAQ: Some Common Questions
Here I will cover some common question I can see online when people first getting start to use ren'py
1. I can't start Renpy Launcher / it doesnt react!
I sometimes see people having trouble opening the Ren'py launcher. If you encounter this problem, you can try the following:
- Close your antivirus software temporarily. Some antivirus programs might mistakenly flag Ren'py as a security risk. Try temporarily disabling your antivirus software while downloading, installing Ren'py, or creating a project. ((Remember to re-enable it afterward.
- Launch Ren'py with advanced options. Hold the Shift key on your keyboard while clicking the Ren'py icon on your computer. This will open a window with launch options. Try disabling "Gamepad" by clicking "Disable." Then, re-run the launcher to see if it works.

3. Change the renderer. Still holding the Shift key, click on "Renderer" in the launch options window. You can try changing it to "Force GL2 Renderer" or "Force ANGLE2 Renderer." These are different graphics rendering methods. Experiment and see if one of these options helps the launcher open.
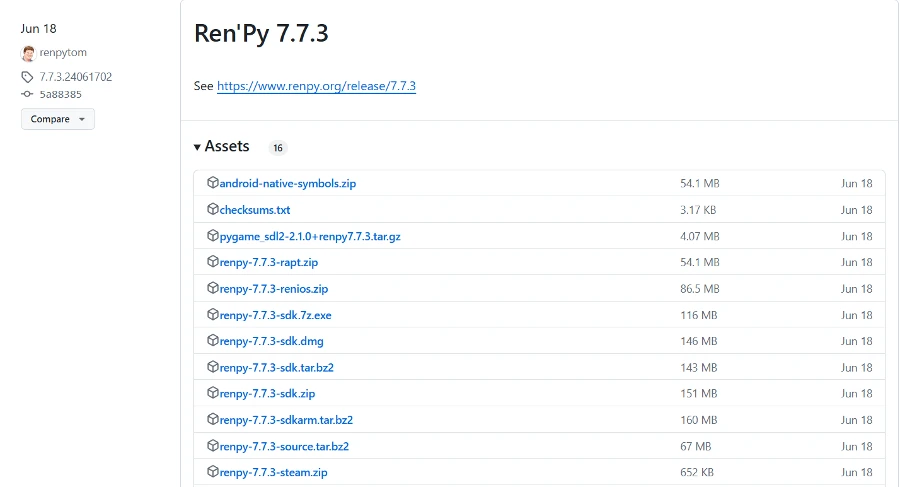
4. Download an older version. If none of the above methods work, you can try downloading an older version of renpy from their GitHub repository. The newest version of renpy might not be compatible with your system. Here, you can find older versions (like 7.x, for example, with the newest being 8).
2. How to Change the Project Language?
If you want to create your Ren'Py project in a different language, this is definitely possible. The process of changing the default language is straightforward.
Just go to Preferences, then General, and select the desired language.
You will then see the interface in the chosen language. Any new projects you create will also be in the language you recently set.
And that's it for today's post! In the next post, we'll learn a little bit more about the launcher.
Then I'll be starting writing in the project/Ren'py game with you! We'll explore some basic Ren'py commands together.
In the meantime, if you're interested in other visual novel engines, you can check out our light.vn tutorial!


[…] 【Renpy Guide#001】 Beginner Ren'py Tutorial for new Visual Novel Game Dev […]
[…] 【Renpy Guide#001】 Beginner Ren'py Tutorial for new Visual Novel Game Dev […]