Hello! Nice to see you again~
Today, we'll delve into creating branching narratives in renpy - Creating branching choices.
If you don't know what branching choices are, imagine this: envision a scenario where a character in a story is presented with a choice between two paths, such as a fork in a road. The outcome of the story will differ based on the player's decision or Imagine standing at a crossroads in a story: one path leads to adventure, the other to mystery. Your choices will shape the tale. Let's explore how to implement this interactive storytelling mechanic in Ren'py!
A default renpy menu screen looks like this:
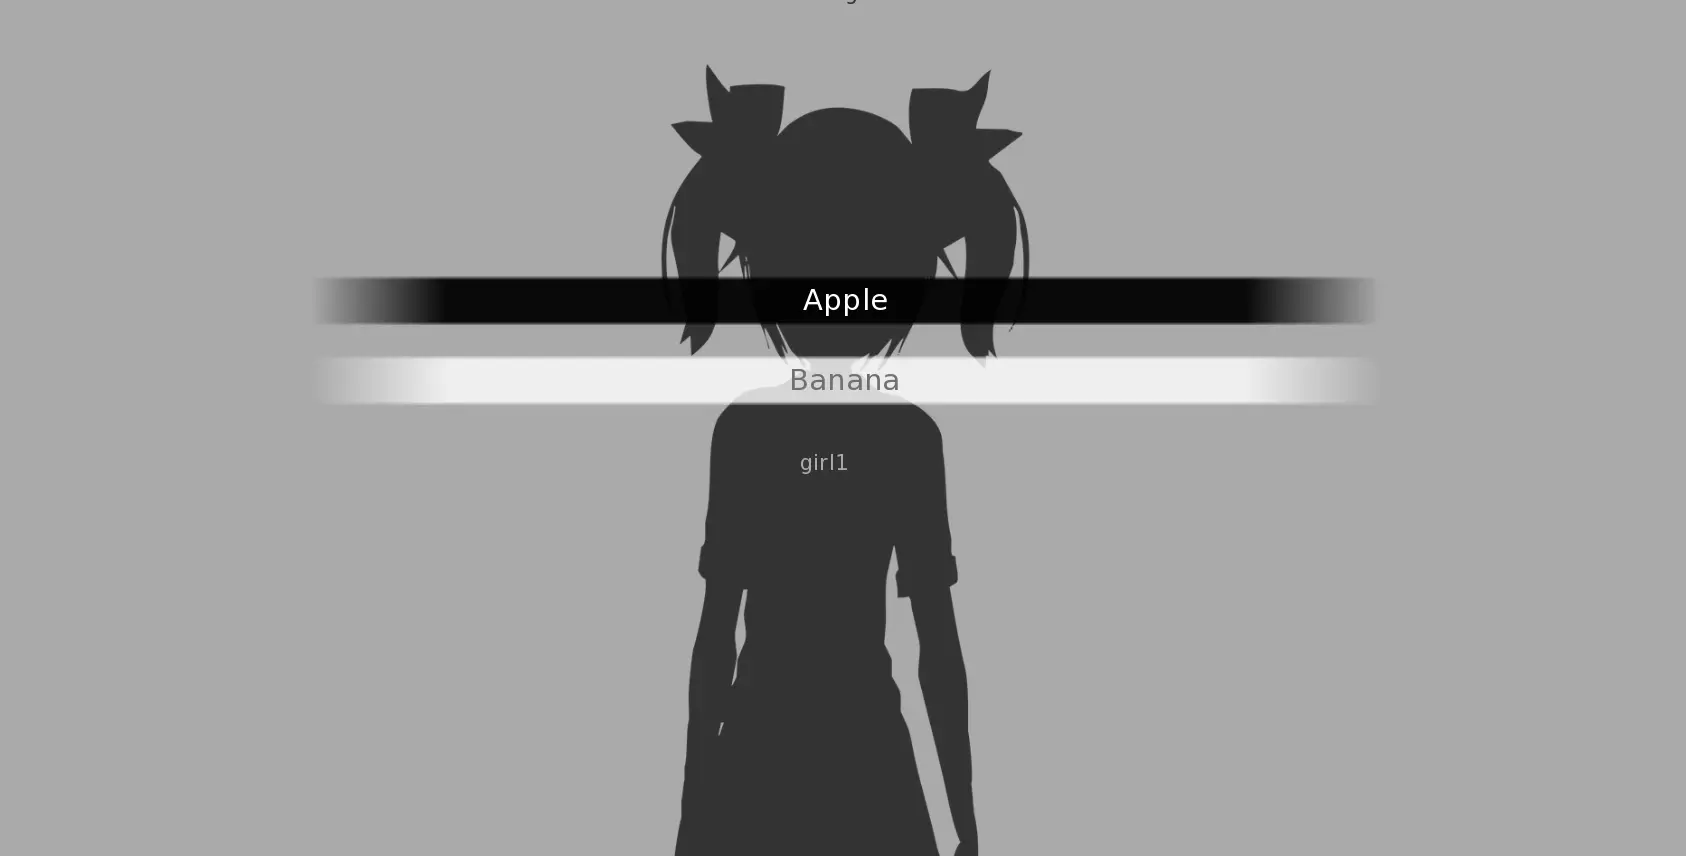
Menu in Ren'py
A menu in Ren'py is a way to present the player with a set of options. When a menu is displayed, the game pauses, and the player can select one of the available choices. This selection then directs the story down a specific path.
The simplest way to create a menu is using the menu: statement followed by a series of "choice text": lines, each leading to a label or action.
Example:
menu:
    "Option 1":
        # Do something when Option 1 is chosen
    "Option 2":
        # Do something when Option 2 is chosen
A few things to remember:
- Colon: After the "menu" keyword, you need a colon (:)
- Quotes: Each option should be enclosed in double quotes ("")
- Indentation: The code after each option should be indented
- Actions: After the colon for each option, you can write the actions that should happen when that option is chosen.
Another example:
menu:
    "Go left":
        jump left_path
    "Go right":
        jump right_path
In this example, the player will see two choices: "Go left" and "Go right". If they select "Go left", the game will jump to the label "left_path"; if they choose "Go right", it will jump to "right_path".
Displaying Text:
You can directly write the text you want to display after the option.
If you want a character to say the text, simply put the character's name before the text.
For instance:
menu:
    "Apple":
        a "Apples are tasty!"
    "Banana":
        b "Bananas are yummy!"
Advanced Menu in renpy
You can do much more with menus in Ren'py than just basic choices. Let's explore some advanced techniques.
Menu with Variable
Let's create a menu that lets you choose between options and modify a variable:
menu:
    "Apple":
        a "Apples are tasty!"
        $ cha_aff += 1
    "Banana":
        b "Bananas are yummy!"
        $ chb_aff -= 1
Conditional Menus:
You can create menus / choices that are only shown based on the conditions:
menu:
    "Apple" if like_apple > 2:
            a "Apples are tasty!"
    "Banana":
b "Bananas are yummy!"- In this case, the "Apple" option will only appear if the
like_applevariable is greater than 2 - Otherwise, only "Banana" will appear on the screen
Nested Menus
If you want to add menu in a menu, then you can also do it
Example:
    menu:
        "Search the room":
            menu:
                "Look under the bed":
                    jump bed
                "Check the closet":
                    jump closet
        "Leave the room":
jump leave- In this example, if the player picks "Search the room", then two more choices will appear.
- -> "Look under the bed" and "Check the closet"
- If the player simply chooses "Leave the room", no other choices will appear.
This creates a submenu when the player selects "Search the room."
Note: Remember to indent your code properly for nested menus.
These are just a few examples of the advanced menu options available in Ren'py. By combining these techniques, you can create complex and engaging interactive experiences for your players.
Dialogue / Choice Example
Alright, let's dive into a full example! We'll set up a scene where the player has at least two choices to make. We can even add some variables to make the player's choices affect the story or increase a character's affection.
1. Setting the Stage First, let's create two characters
define a = Character("Person A")
define b = Character("Person B")
And let's add a background image.
image park = "images/bg/park.jpg"
Besides characters, let's also set up some variables.
$cha_aff = 0
$chb_aff = 0
default apple = False
default banana = False- To store numbers and stuff, we can use a dollar sign -> "$"
- For text, we can use either ‘define’ or ‘default’
- But I think ‘default’ is better because using ‘define’ can cause some problems when saving or loading the game.
Create Branch / Increasing Affinity in Renpy
Remember those variables we created earlier, like $cha_aff and $chb_aff?
We can use them to track character affinity.
For example:
menu:
    "Apple":
        a "Apples are tasty!"
        $cha_aff += 1
    "Banana":
        b "Bananas are yummy!"
$chb_aff += 1- This code will increase the affinity of character A by 1 if the player chooses "Apple"
- And will increase the affinity of character B by 1 if the player chooses "Banana"
Checking Affinity
To check the current affinity, create a new label and display the variable values:
label stats:
    "Character A's affinity is [cha_aff]"
    "Character B's affinity is [chb_aff]"
The text inside the square brackets will be replaced with the actual value of the variable.
Putting it all together:
menu:
    "Apple":
        a "Apples are tasty!"
        $cha_aff += 1
        jump stats
    "Banana":
        b "Bananas are yummy!"
        $chb_aff += 1
        jump stats

label stats:
    "Character A's affinity is [cha_aff]"
    "Character B's affinity is [chb_aff]"
This code will display a menu with two options: "Apple" and "Banana". After the player makes a choice, the corresponding text will be displayed, the character's affinity will increase, and the game will jump to the "stats" label to show the updated affinity values.
Branching Based on Affinity
Let's say you want the story to go in a different direction based on a character's affinity (like if the affinity is above 10). You can use if statements and jump commands to achieve this.
Here's an example:
if cha_aff >= chb_aff:
    jump next1
else:
jump next2- This code checks if the value of
cha_affis greater than or equal tochb_aff.
- If it is, the story jumps to the label
next1.
- Otherwise, it jumps to
next2.
So your complete code might look like this:
menu:
    "Apple":
        a "Apples are tasty!"
        $cha_aff += 1
    "Banana":
        b "Bananas are yummy!"
        $chb_aff += 1

if cha_aff >= chb_aff:
    jump next1
else:
    jump next2

label next1:
    "Apples are awesome, Character A loves you!"
    jump start
label next2:
    "Bananas are great, Character B loves you!"
Branching Based on Events
You can also branch the story based on events that have happened. Let's use two variables:
$apple and$banana
to track if certain events have occurred.
menu:
    "Apple":
        a "Apples are tasty!"
        $apple = True
    "Banana":
        b "Bananas are yummy!"
        $banana = True

if apple == True:
    jump appleTrue
elif banana == True:
    jump bananaTrue
else:
    jump start
You would then create two labels, appleTrue and bananaTrue, to handle the different scenarios.
Instead of jumping to a new label, you can also directly add the text within the if statement:
if apple == True:
    "Yeah, apples are the best!"
elif banana == True:
    "Yeah, bananas are awesome!"
else:
    "How did you get here?"
Summary
In Renpy, by using if statements and jump commands, you can create dynamic stories that react to the player's choices and the state of the game world. This allows you to create more personalized experiences for your players.
Additional Tips:
- You can create as many options as you want within a menu.
- You can use conditions to make certain options available only under specific circumstances.
- You can use variables to store more complex information, such as the player's inventory or the current time.
FAQ: Some Common Questions
How to do menus in Renpy?
You simply need to type menu: and add the options you want. For more detailed steps, please refer to the menu tutorial above!
Can you give me a choice menu example in Renpy?
Sure! I understand that sometimes you might encounter errors in renpy even when copying and pasting code from other sources. In most cases, it's likely due to indentation issues, which Ren'py strictly enforces.
Here's an example:
menu:
    e "..."
    "Who are you...?":
        jump Nr002
    "Hello":
        jump Nr003
Can I write other languages in menu choices in Renpy?
Absolutely! You can even use multiple languages in one renpy game, as long as you have the appropriate font installed to support those languages.
Just an example:
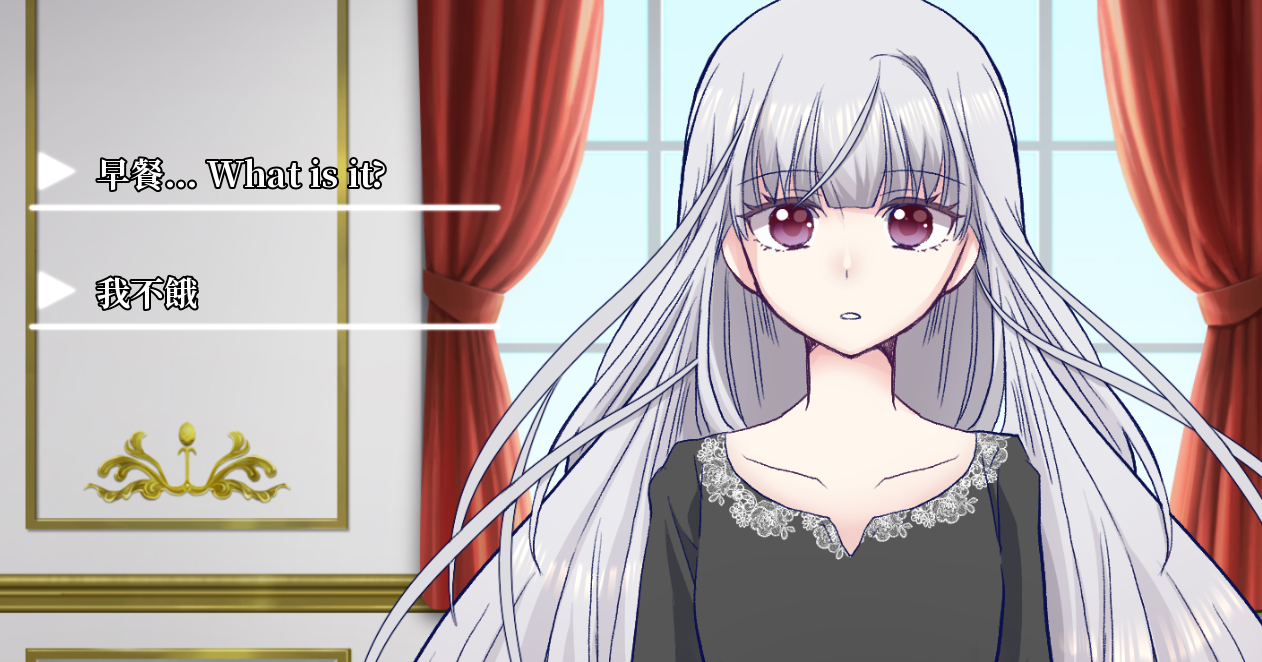
- In this example, I combined Chinese and English in a menu choice
- (It is not a default renpy choice menu screen but a custom one so it might look different from your renpy menu screen)
Check last episodes:
We will continue talking about more Ren'py functions / basic things and more features in the next post. We will discuss the difference between the jump and call commands, including examples to help you understand better.
In the meantime, you can check out our previous Renpy tutorials! As always, if you have any questions or want to share something, feel free to leave a comment or send us an email. We'd love to hear from you!
- 【Renpy Guide#003】 Beginner Friendly Ren'py Basic Tutorial: Creating Your First Renpy Story
- 【Renpy Guide#002】 Beginner Friendly Ren'py Basic Tutorial: Ren'py Launcher
- 【Renpy Guide#001】 Beginner Ren'py Tutorial for new Visual Novel Game Dev


[…] 【Renpy Guide#004】 Basic Tutorial: Choice Menu / Create Branching Paths / Flags […]
Thank you, this was super helpful! 😀